Shielded Human
Keywords:
-
radiation, GORAD
Problem Description
This problem illustrates a common problem, measuring the energy deposited on the head of a human shielded in an aluminum cylinder.
The particle source uses a JPL dataset for modeling a mission to Europa, with the normalization computed based on the maximum and minimum integral flux.
This example demonstrates how to import a step file, annotate the materials of the parts of the step file, and it will be automatically converted into gdml for use in the simulation.
Opening the Simulation
The shielded human example is accessed from within RSim by the following actions:
- Select the New → From Example… menu item in the File menu.
- In the resulting Examples window expand the RSim for Basic Radiation option.
- Expand the Basic Examples option.
- Select Shielded Human and press the Choose button.
- In the resulting dialog, create a New Folder if desired, and press the Save button to create a copy of this example.
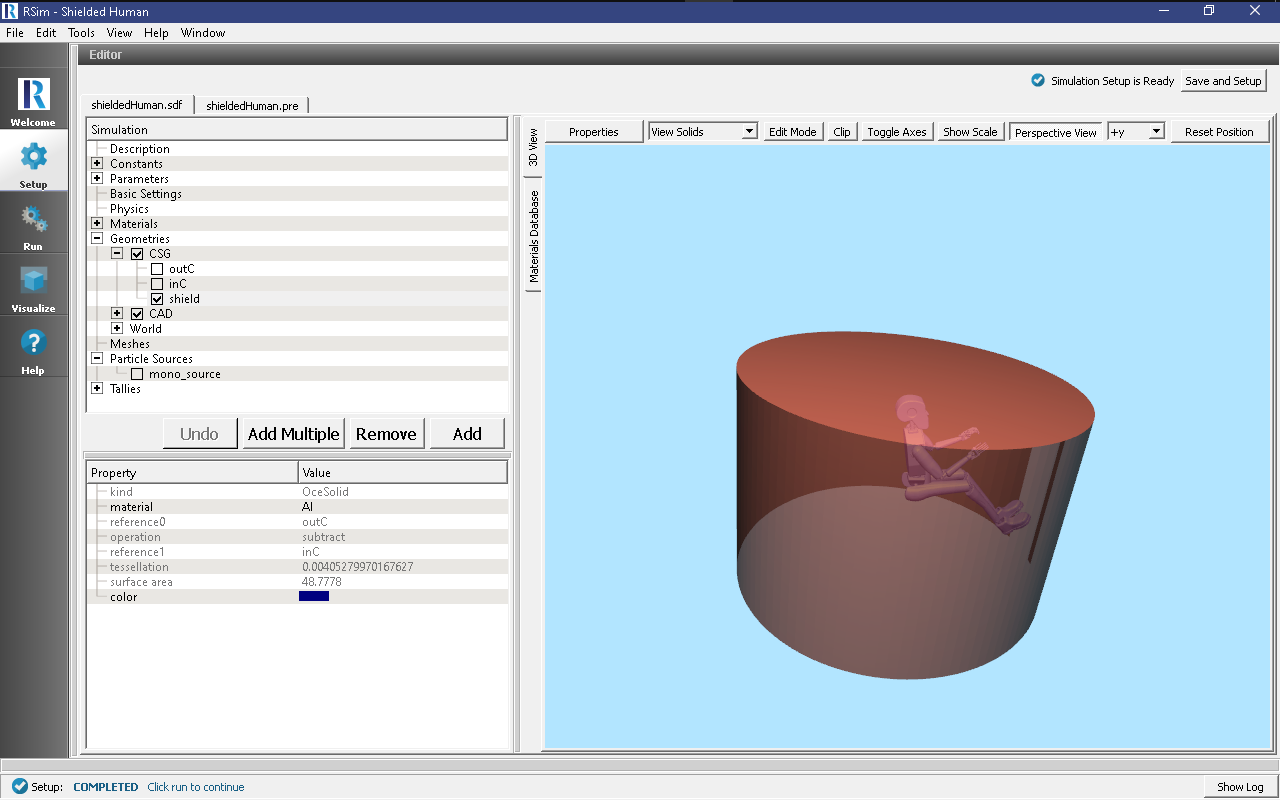
All of the properties and values that create the simulation are now available in the Setup Window as shown in Fig. 75. You can expand the tree elements and navigate through the various properties, making any changes you desire. The right pane shows a 3D view of the geometry, if any, as well as the grid, if actively shown.
Simulation Properties
This example demonstrates two physics features, and how CSG and CAD can be incorporated into RSim Simulations.
- In order to rapidly set a material for all 35 parts of the CAD file Materials Annotation can be used. This is done with the following actions:
- Right-click on the Geometries
- Select Annotate Materials From File
- In the dialog box, select the .csv file that corresponds to the materials annotation.
This .csv file is a 2 column list, comma separated, of the name of the part and the material to be assigned to it The materials data itself should be stored in a .xml file of the same name.
After this is complete there should be new .xml file created, named simulationName_materials.xml. This will be used by the .gdml file.
Under the Basic Settings tab the number of events to be simulated can be selected, as well as the simulation model. Right now the only supported model is gras.
The particle source selected is a spherical surface. In this case it simulates 1 electron per event. The energy is based on a 2 column text file supplied with the example.
Running the Simulation
After performing the above actions, continue as follows:
- Proceed to the Run Window by pressing the Run button in the left column of buttons.
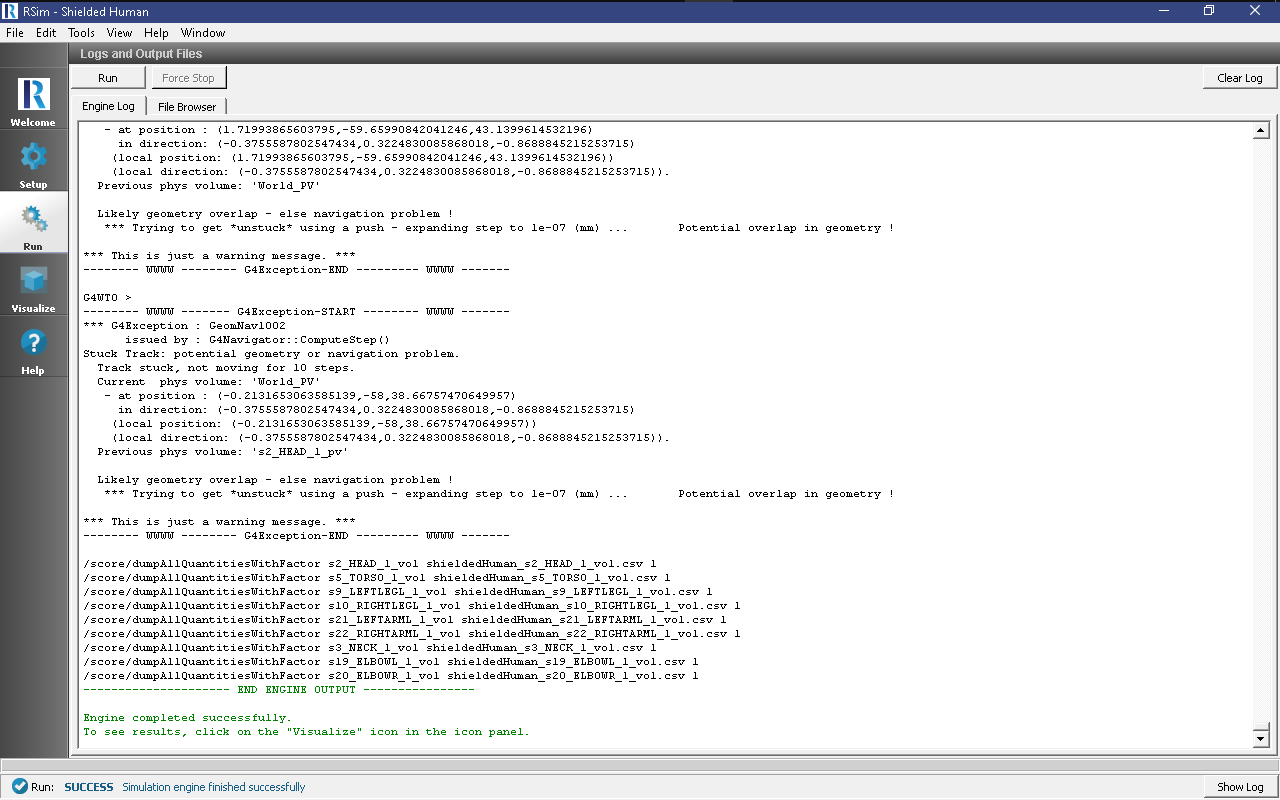
- To run the file, click on the Run button in the upper left corner of the Logs and Output Files pane. You will see the output of the run in the right pane. The run has completed when you see the output, “Engine completed successfully.” This is shown in Fig. 76.
Visualizing the Results
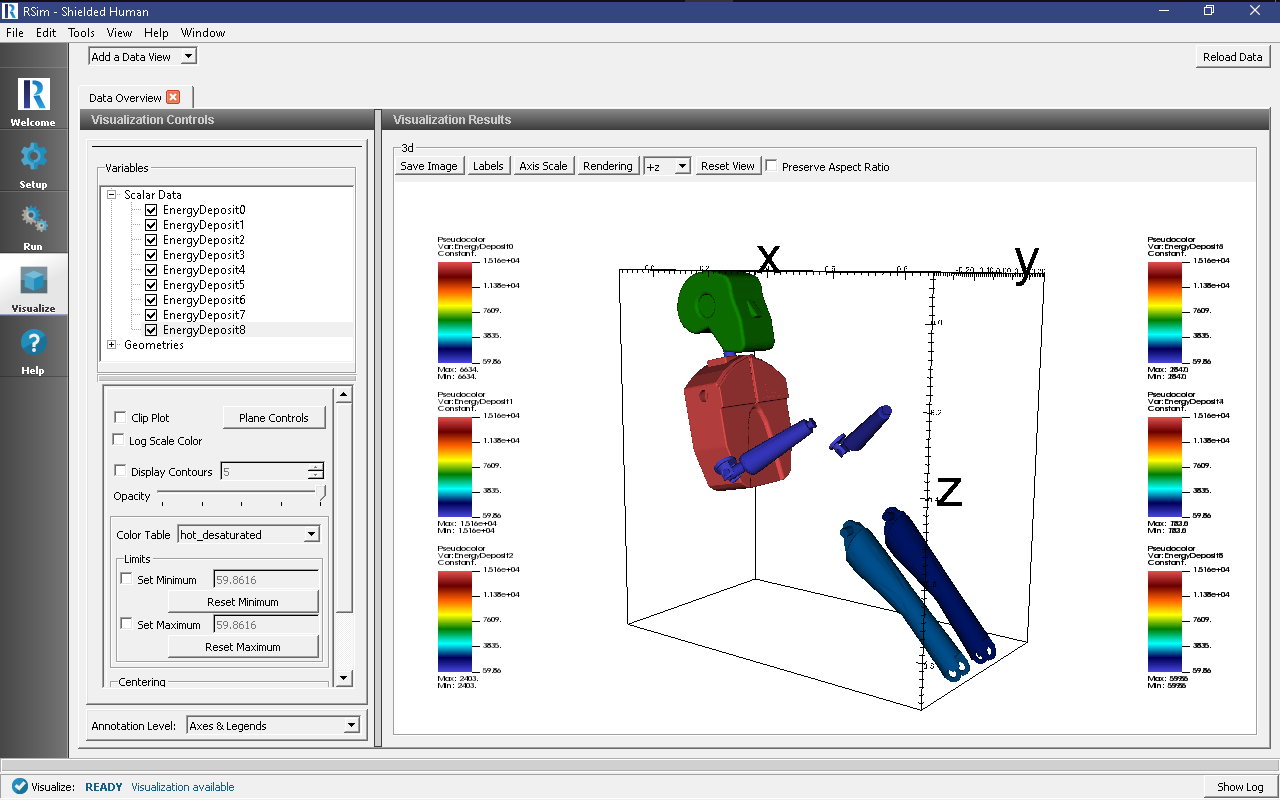
After the simulation is completed it is possible to visualize the energy deposited on each part of the body.
To view this
- Expand Scalar Data
- Check EnergyDeposit0 to EnergyDeposit8
Further Experiments
Try altering the shielding material from aluminum to see how the Deposited Energy on the head may be changed.


