Installing Chemistream
Mac OSX
For the Mac OSX operating system, the Chemistream installation in performed through a pkg file installer. Once you download the pkg file you can either type
open Chemistream-x.x.x-MacOSX-x86_64.pkg
from a command line terminal or you can move the pkg file to your desktop and open. Once the pkg installer starts you will see the following:
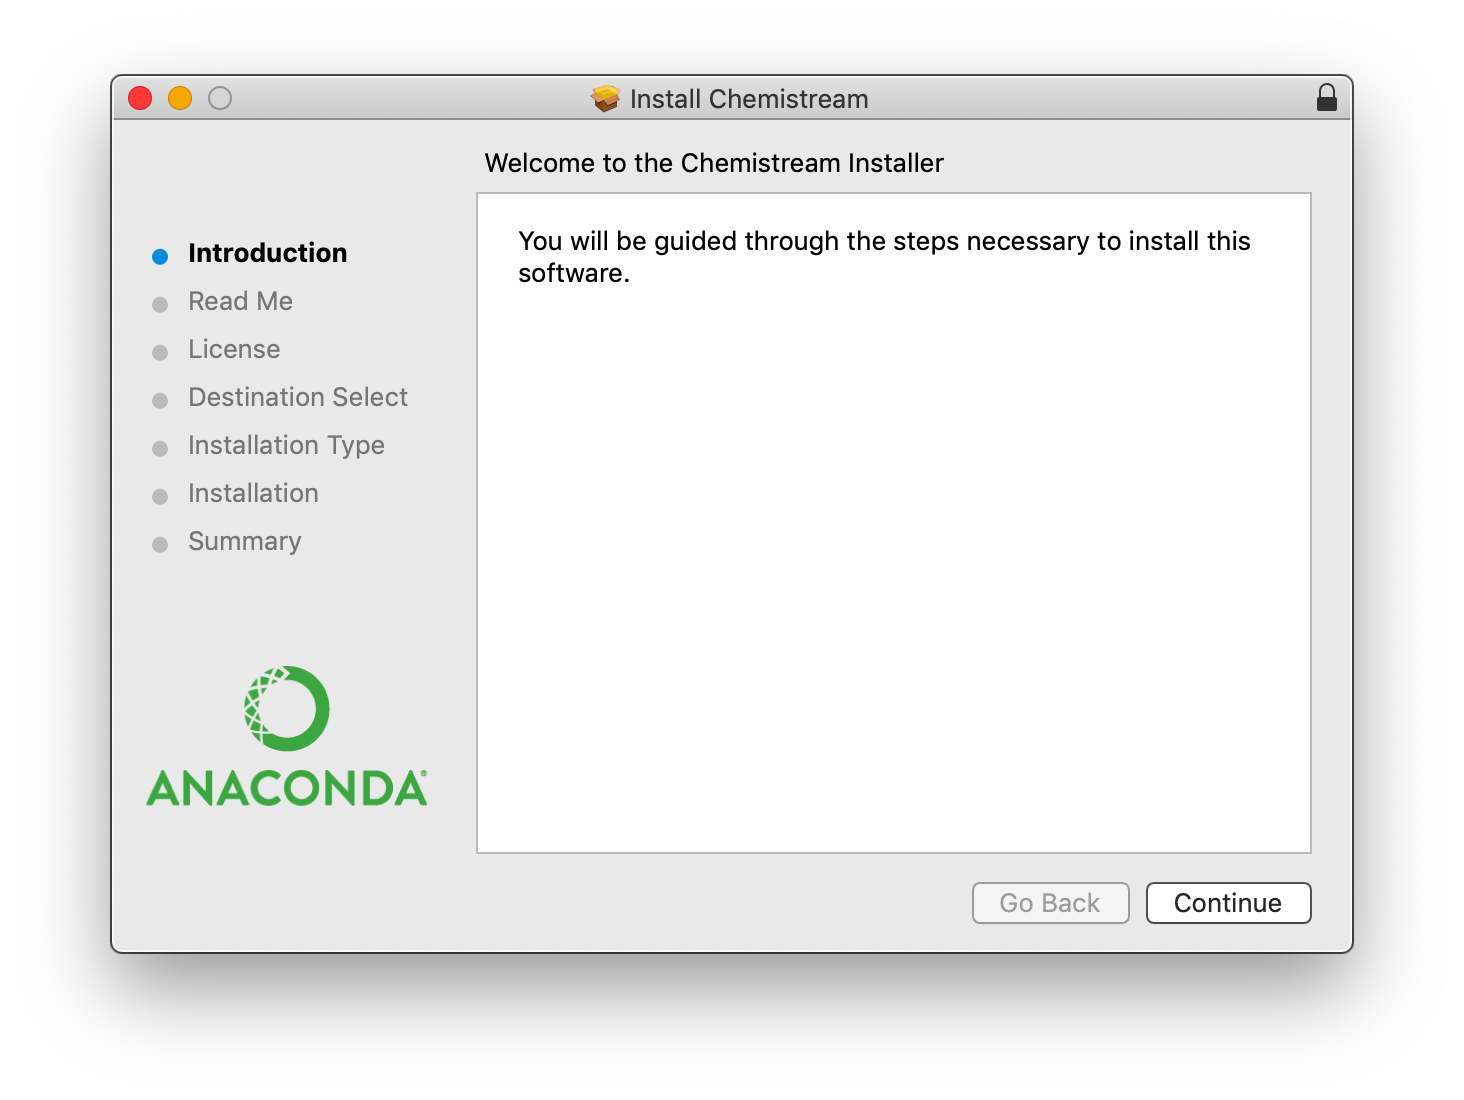
Follow the instructions from the installer. The default selections should be sufficient for a single user installation. You may check the installation destination by clicking on the “Destination Select” –> “Customize Location” and check that “Install for me only” is chosen. You may see the following
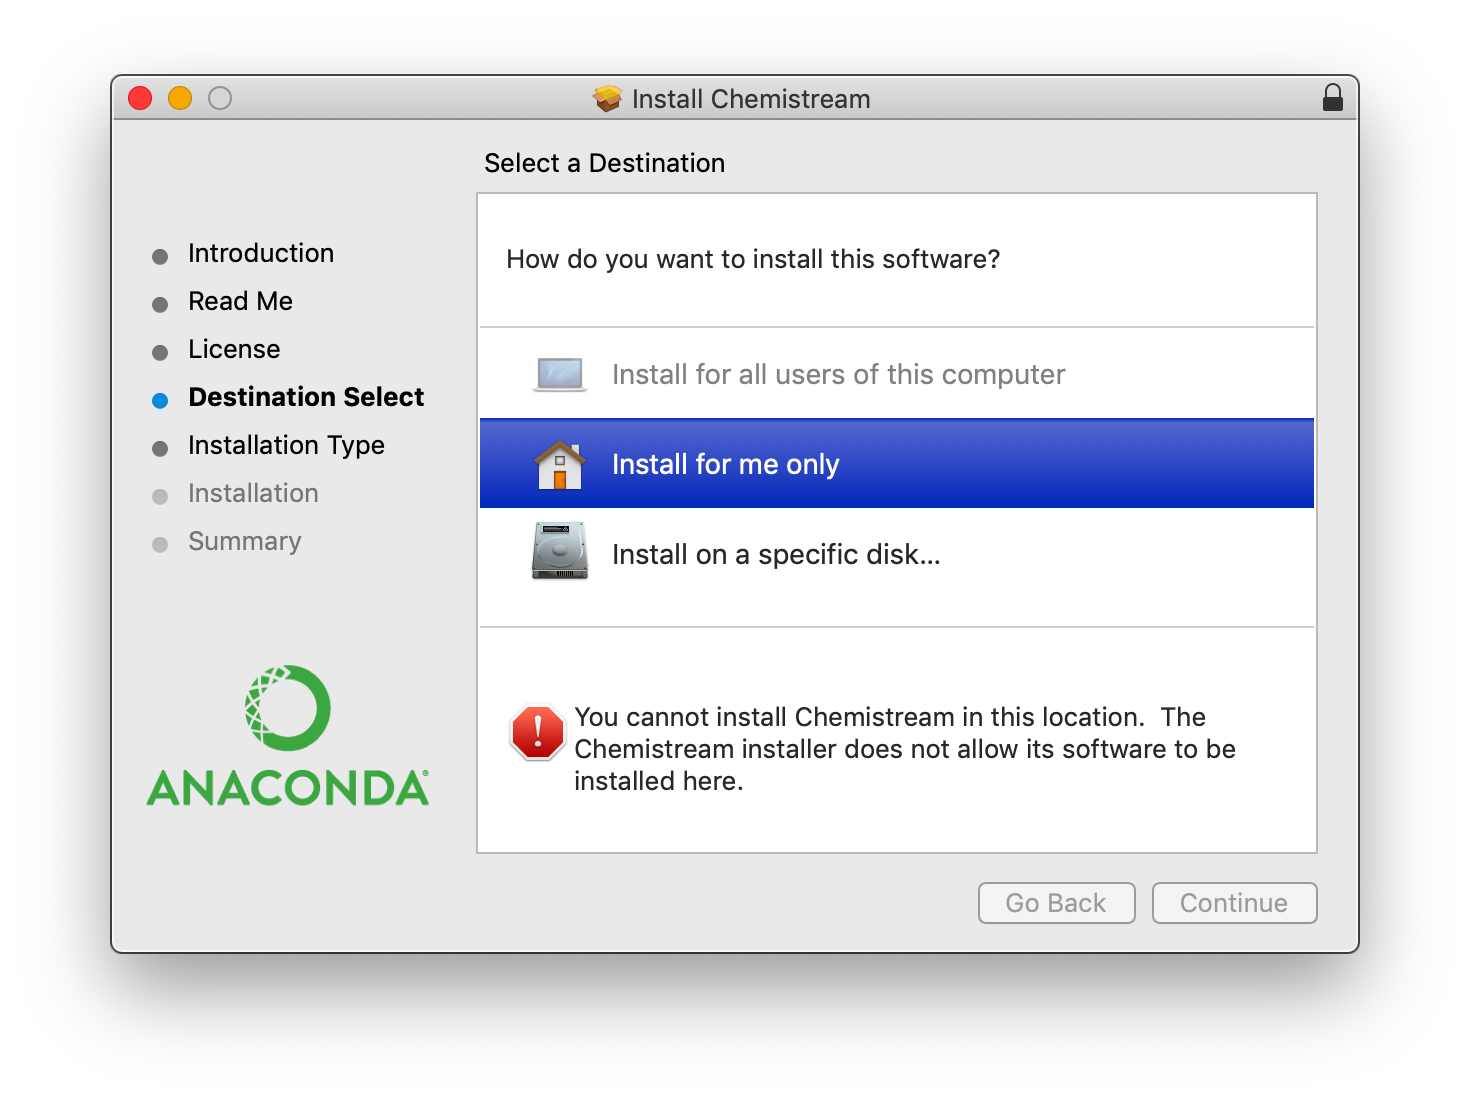
This is not an error, simply click on the “Install for me only” selection and you should see

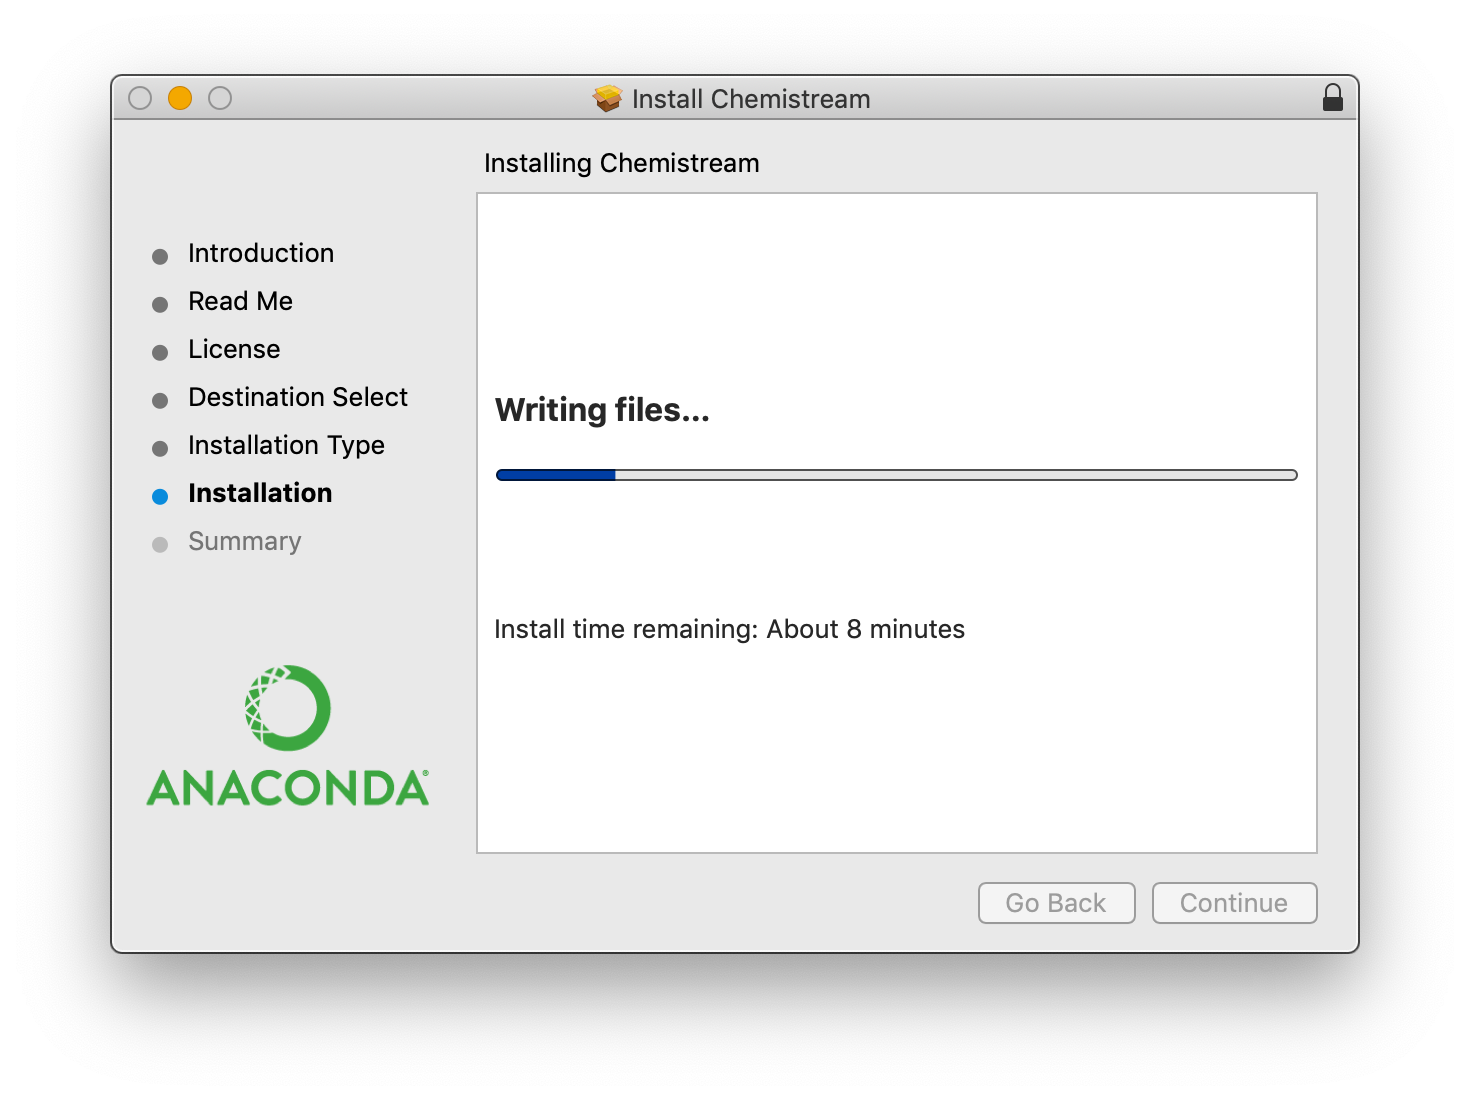
then continue with the installation. The installation procedure may take several minutes during which you will see progress status e.g.
If the installation procedure is successful you should see
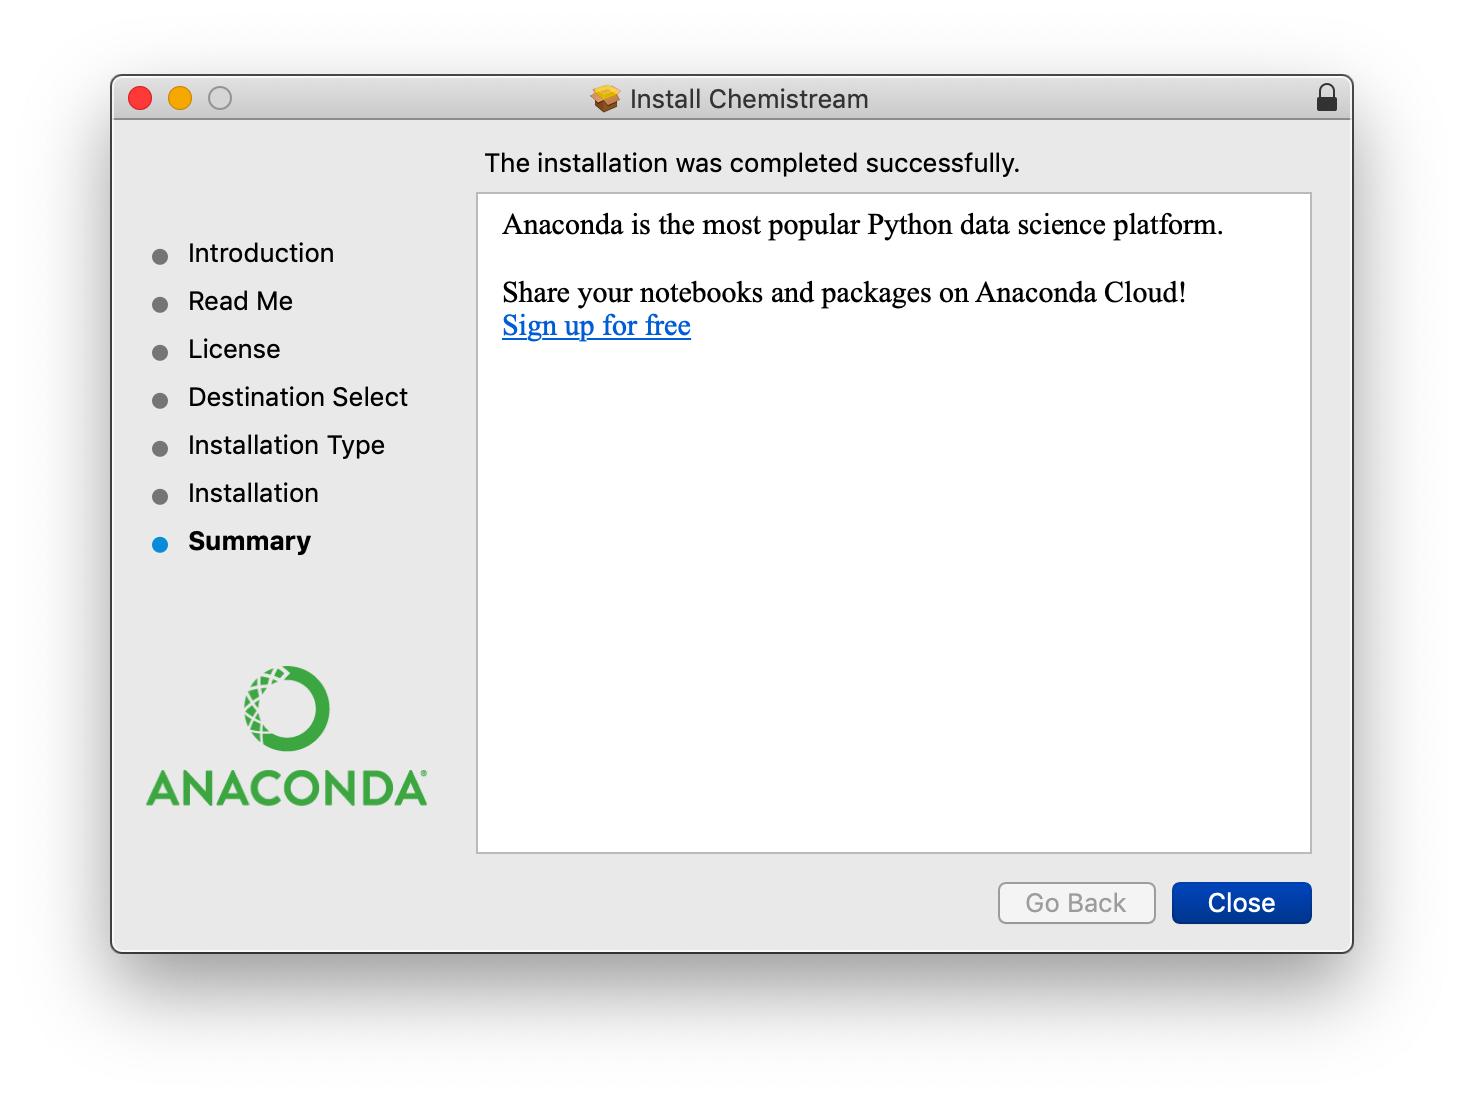
The Chemistream application should then startup with the location of the Chemistream app shown in the Finder. Upon closing the launchpad you may either go to the same location in the Finder and click on the app or right-click on the Chemistream logo in your dock (while the launchpad is running) and select “Keep In Dock” as a convenient way to restart the application.
Linux
For a Linux operating system, the Chemistream installation in performed through a shell file installer script. Once you download the installer script you install by going to a terminal and typing
Chemistream-x.x.x-Linux.sh
Follow the installer instructions. Once the shell script is complete change to the installation directory you chose and type
run.sh
The Chemistream Launchpad application should then startup (see description below).
Windows
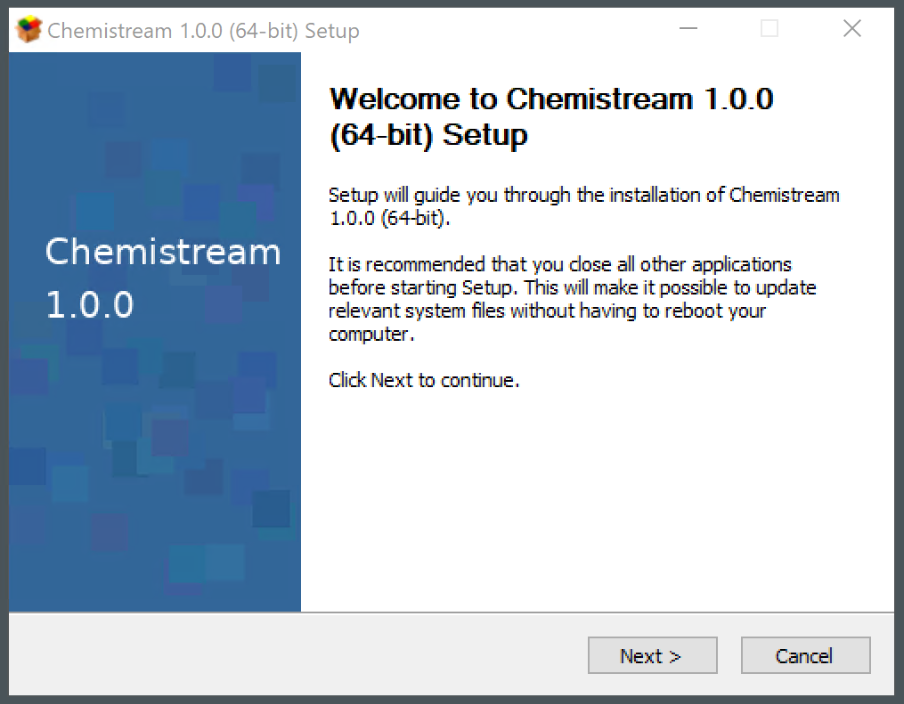
For the Windows operating system, the Chemistream installation is performed through an exe installer. Once you download the exe file you install by moving it to your Desktop or locating in your File Explorer and opening. Once the installer starts you will see the following:
Follow the instructions from the installer. The default selections should be sufficient for a single user installation. Make note of the installation location
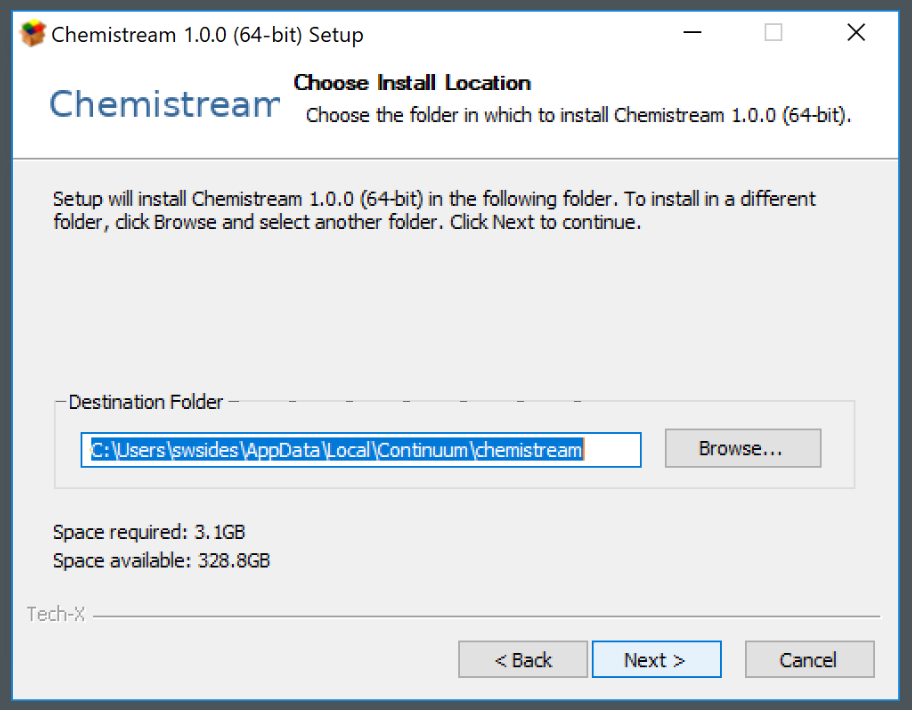
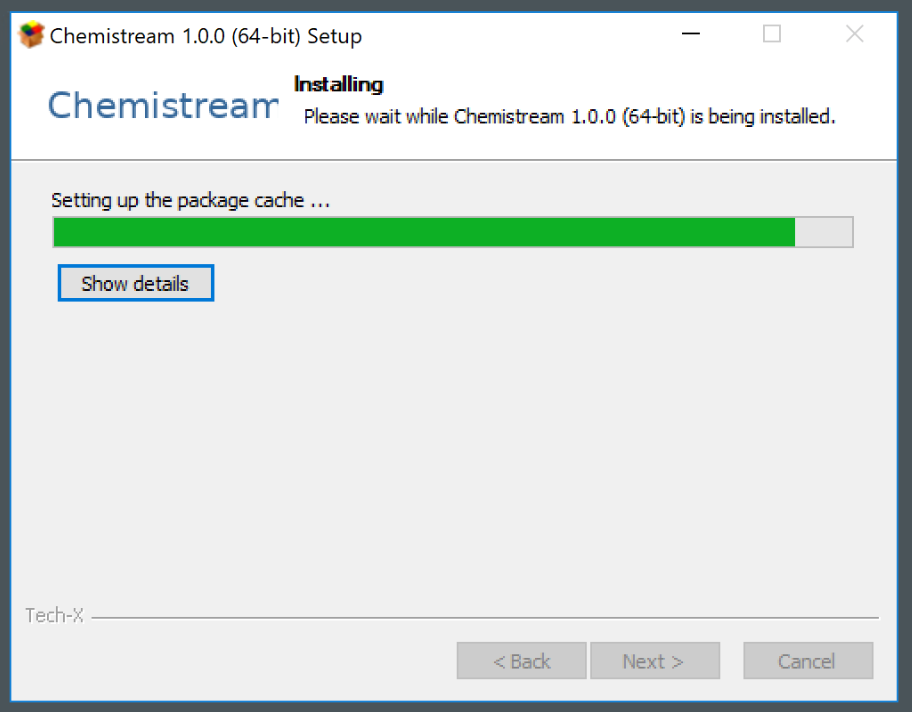
so you can locate with the File Explorer later. The installation procedure may take several minutes during which you will see progress status e.g.
If the installation procedure is successful you should see
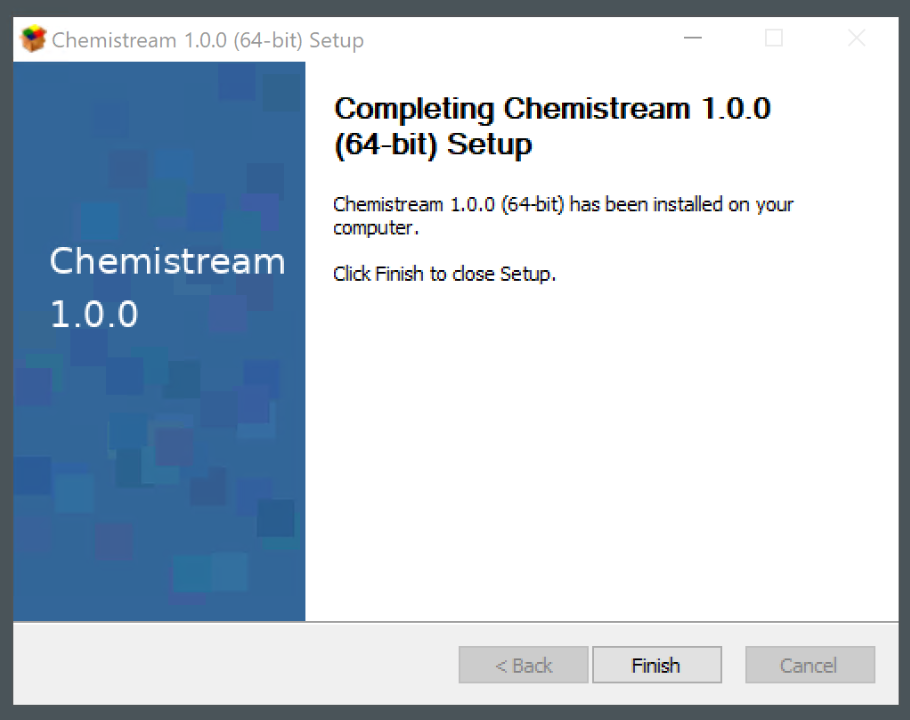
The location of the Chemistream Launchpad will be shown in the File Explorer. You might have to scroll down in the Explorer to find the ‘chemistream-launchpad.exe’ file. Upon closing the launchpad you may either go to the same location in the File Explorer and click on the app, or you can also right-click on the Chemistream logo in the installation location in the File Explorer and create a shortcut. This shortcut may be moved to your Desktop for a convenient way to restart the application.
Docker Desktop
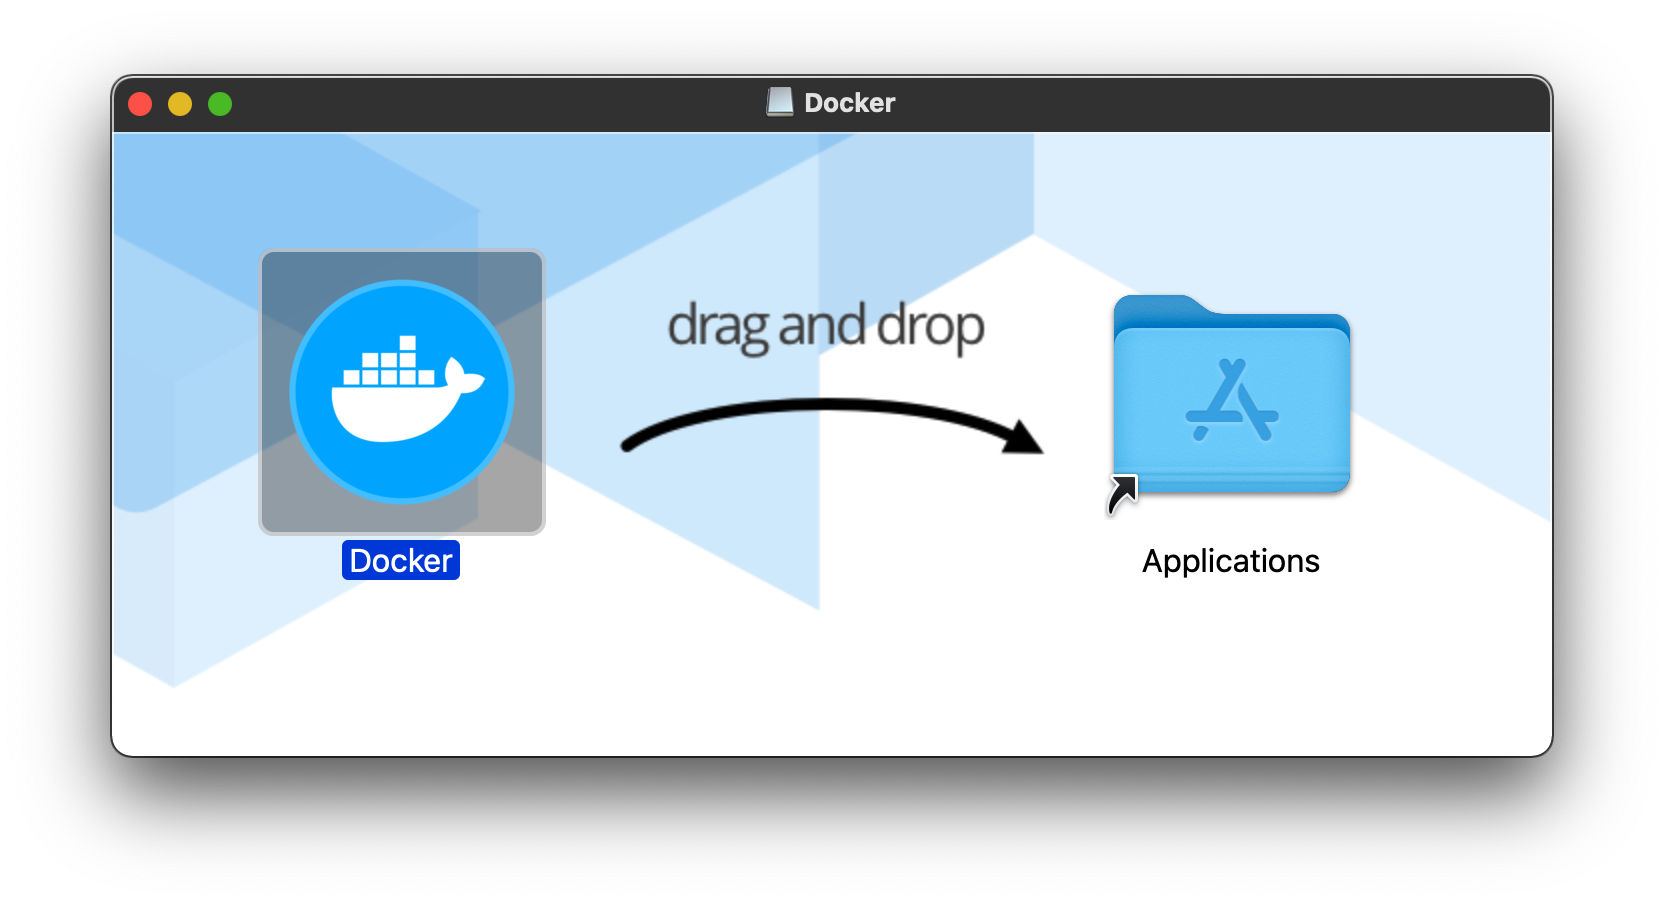
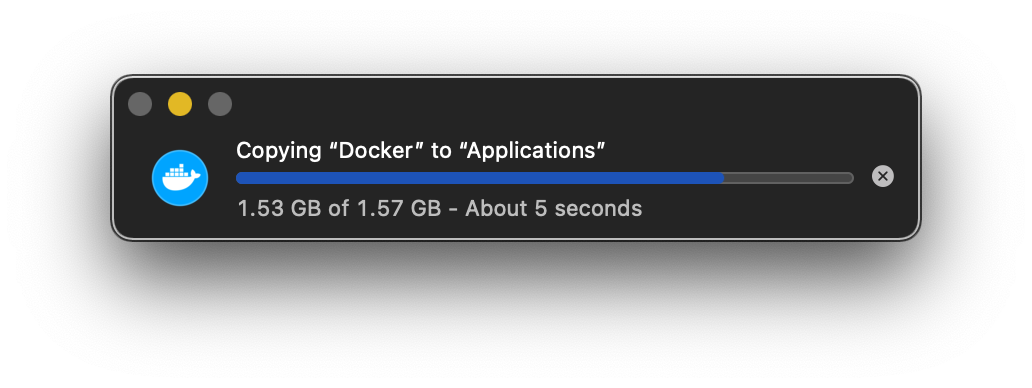
Chemistream provides the ability to start a compute session not only on remote cloud resources and local compute clusters but also on a user’s local machine in order to test workflows without having to first configure cloud resources or pay for them. For cloud platforms, Chemistream manages setting up and configuring Docker on remote instances. For starting a local compute session a user must either have docker pre-installed or install Docker Desktop manually. During the setup steps for a local compute session Chemistream will check if Docker is present on a user’s computer and will provide download links for the correct platform (Linux, MacOS or Windows). Once the installer has finished downloading then open the installer and follow the typical steps for installation software on your local machine.
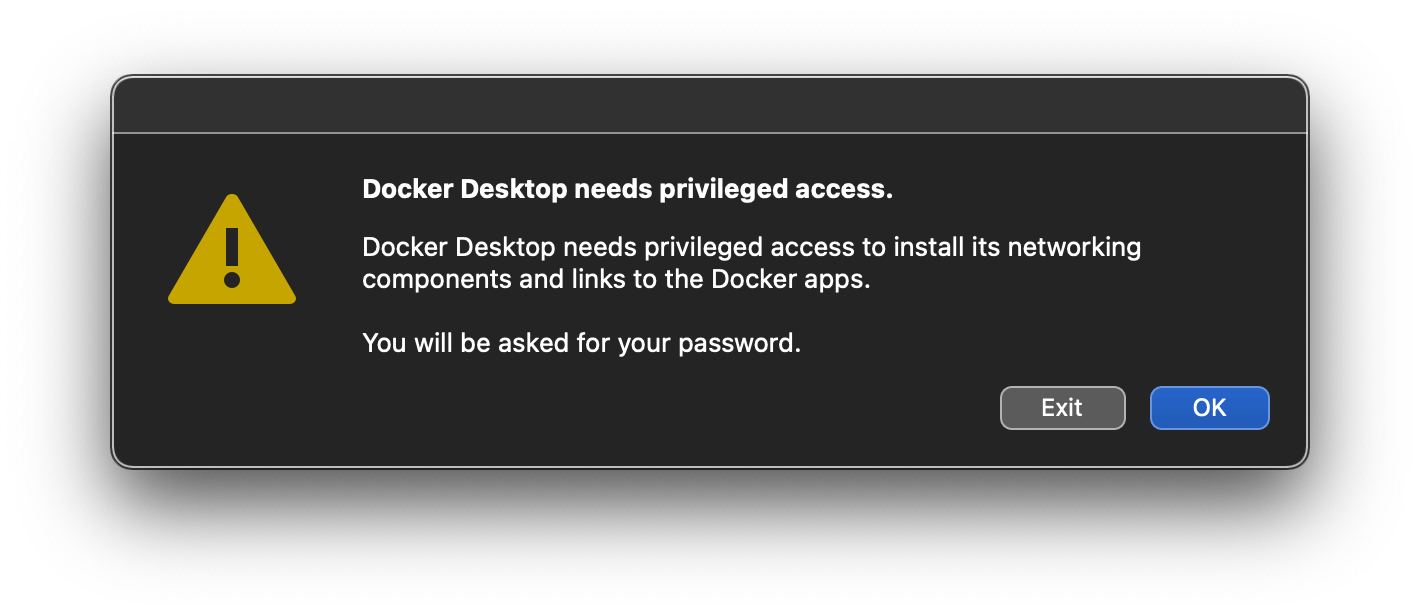
Docker requires admin level permissions to finish the installation process. If you don’t have that on your local machine, you’re out of luck. Of course, you can still run on remote cloud resources but those accounts at AWS or Azure must be pre-configured.
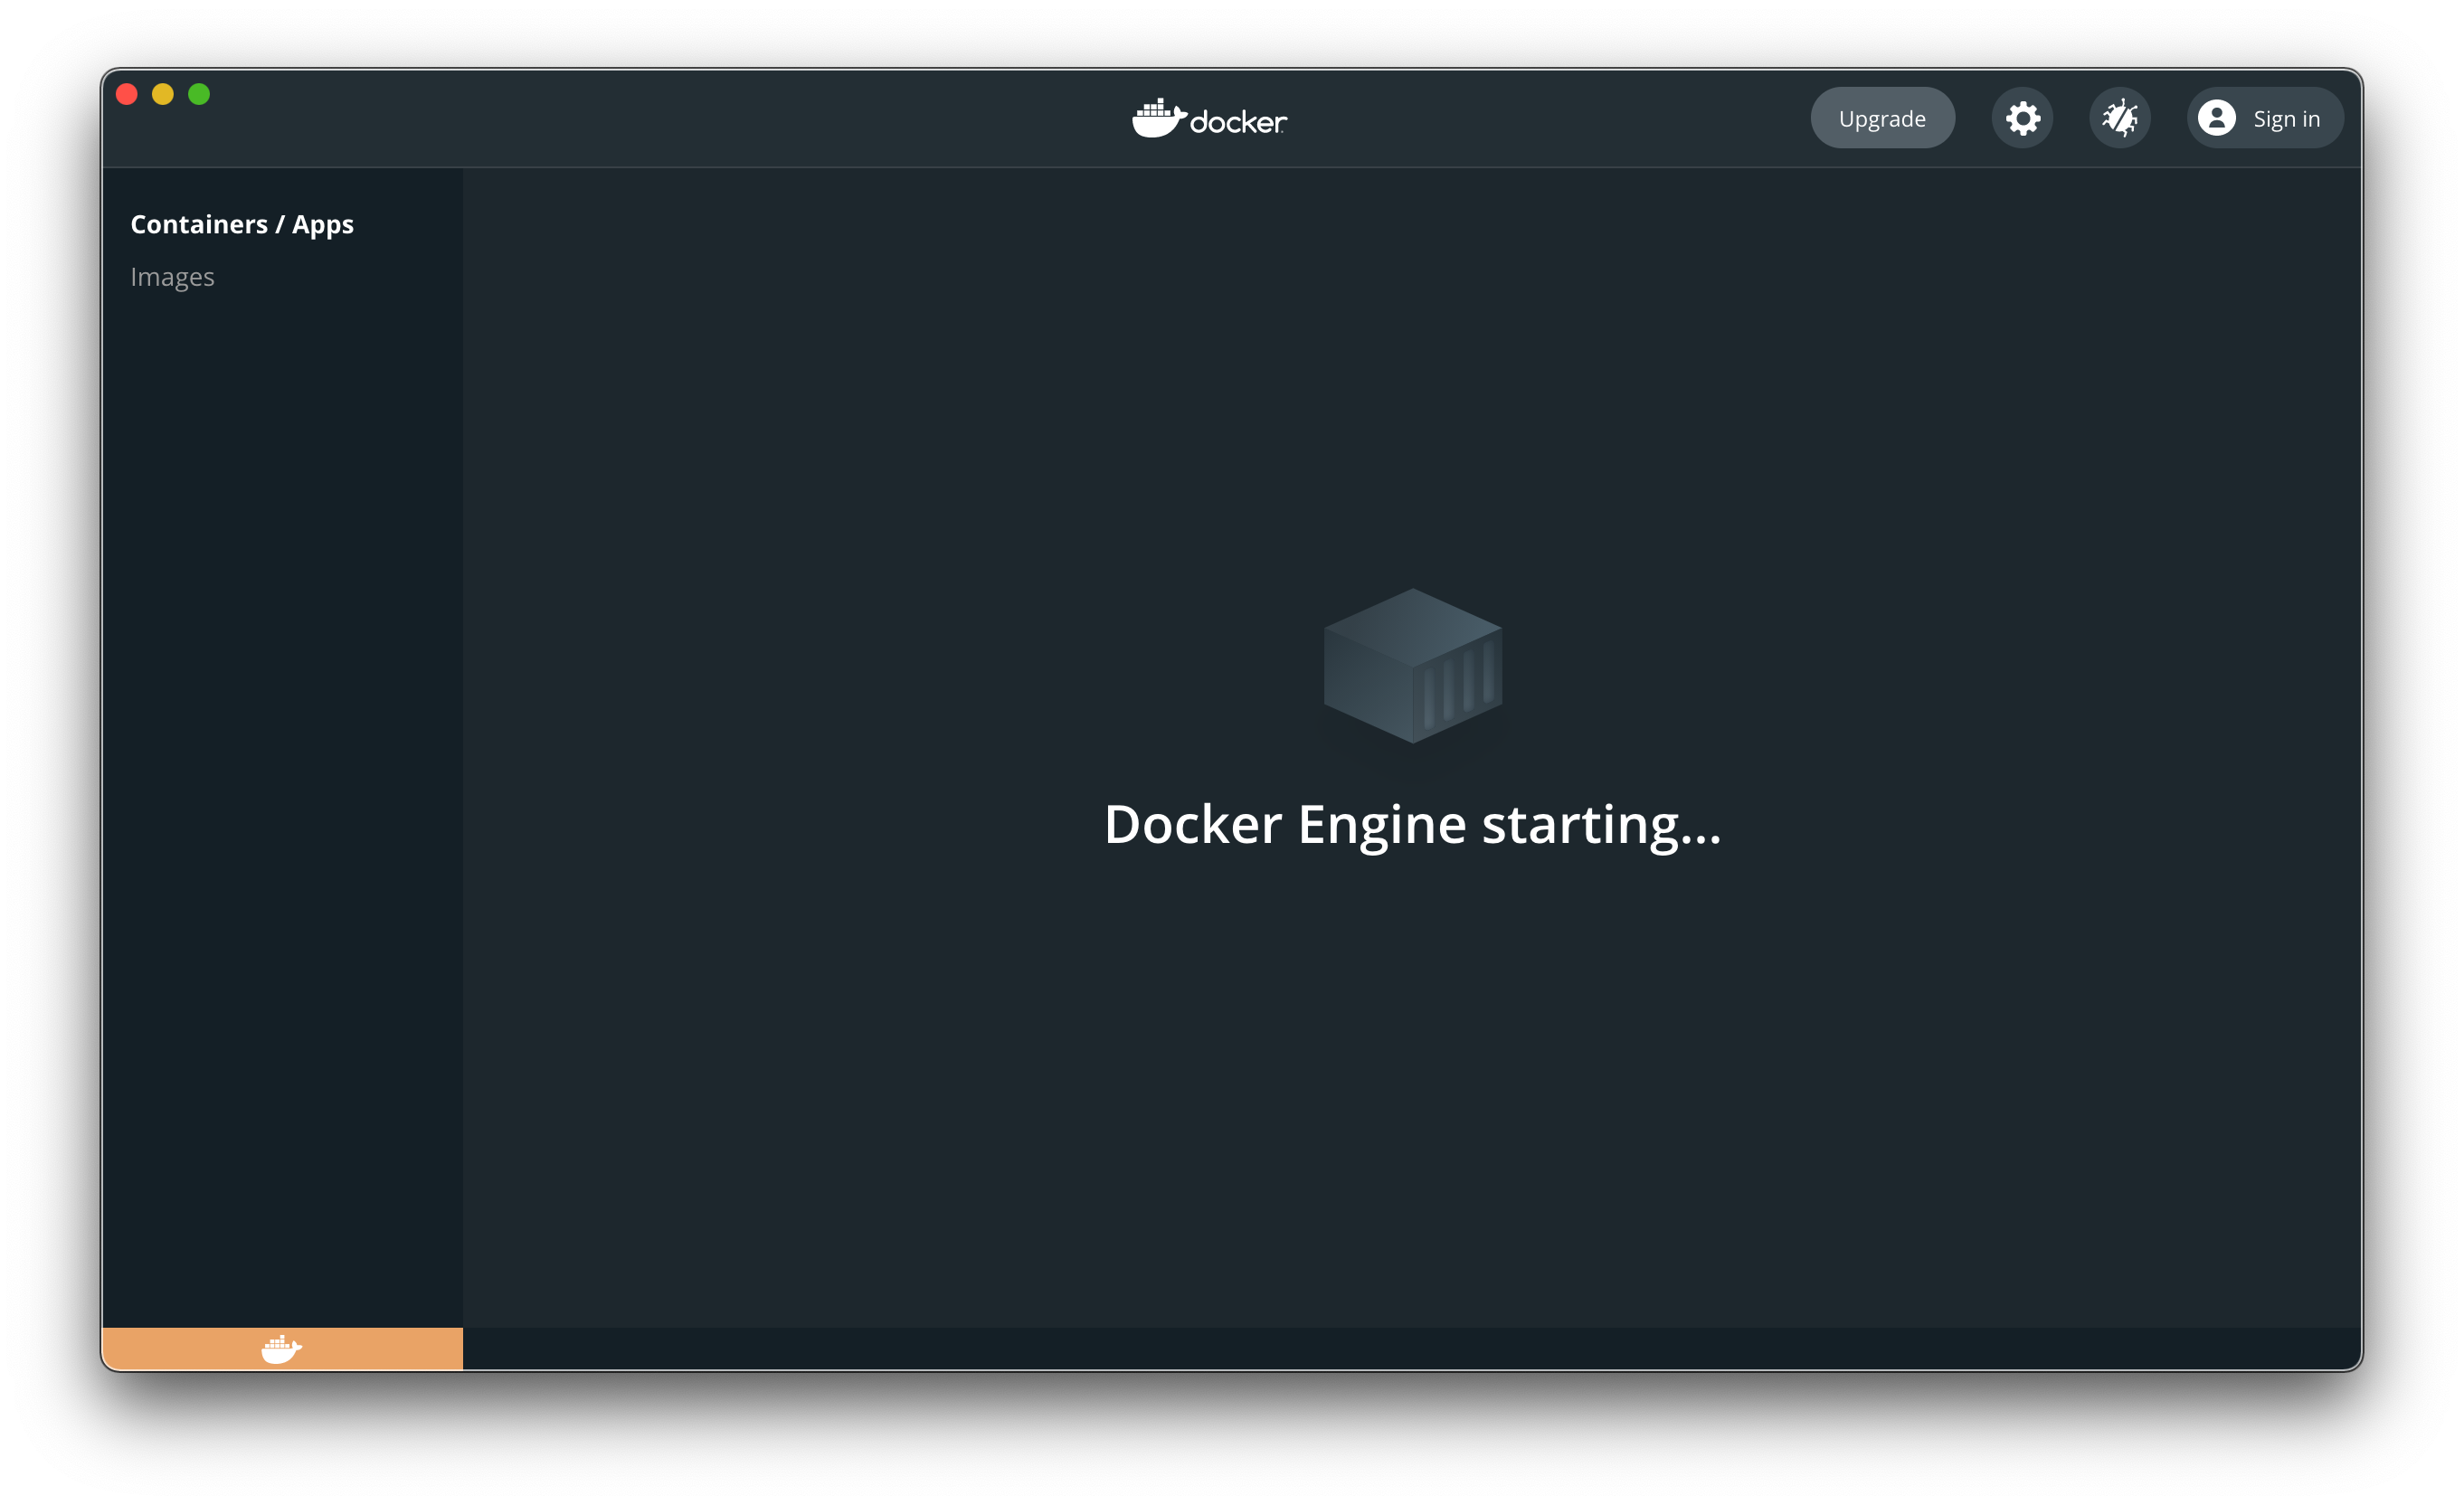
Once the Docker engine begins its startup procedures, one can see the following window where the orange icon in the lower left shows that the startup is in progress.
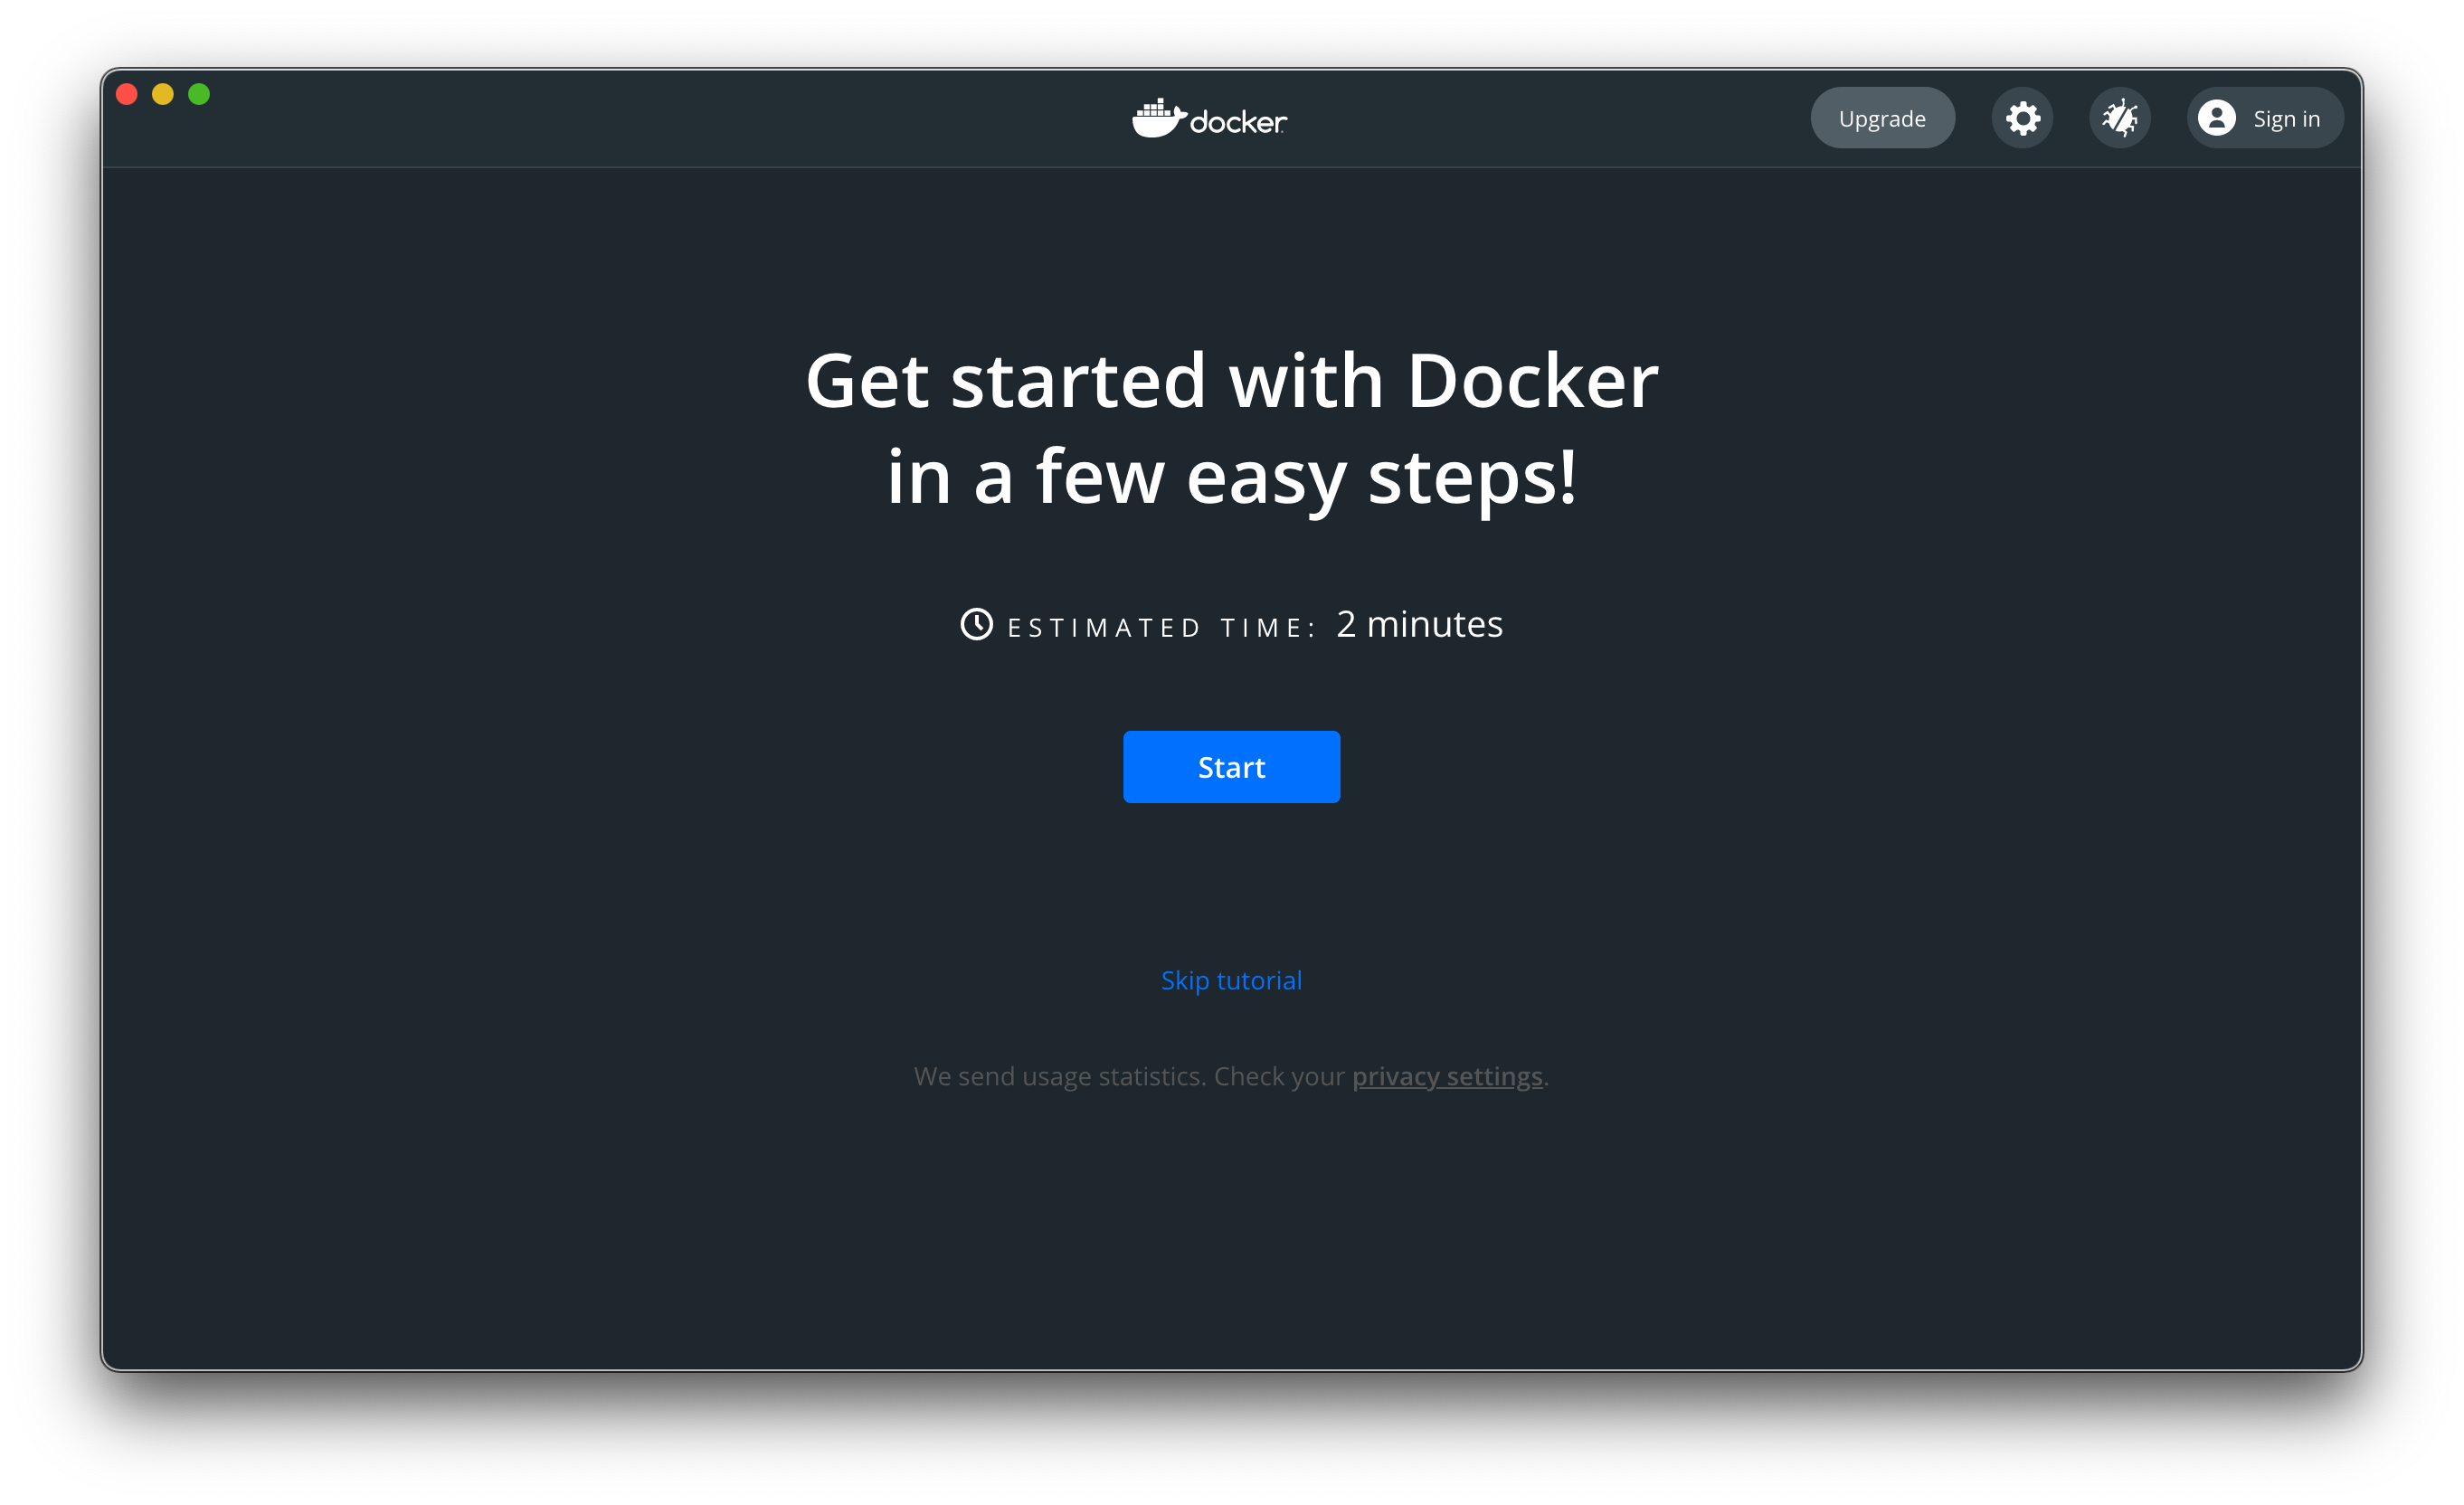
Once the startup is complete one should see the following window. While Docker can be used separately from Chemistream, for now one can simply ‘Skip tutorial’.
Then the following window should be seen with the green icon in the lower left signifying that the Docker engine is up and running.

The installer and this Docker dashboard can then be closed and one may return to the Chemistream startup session.